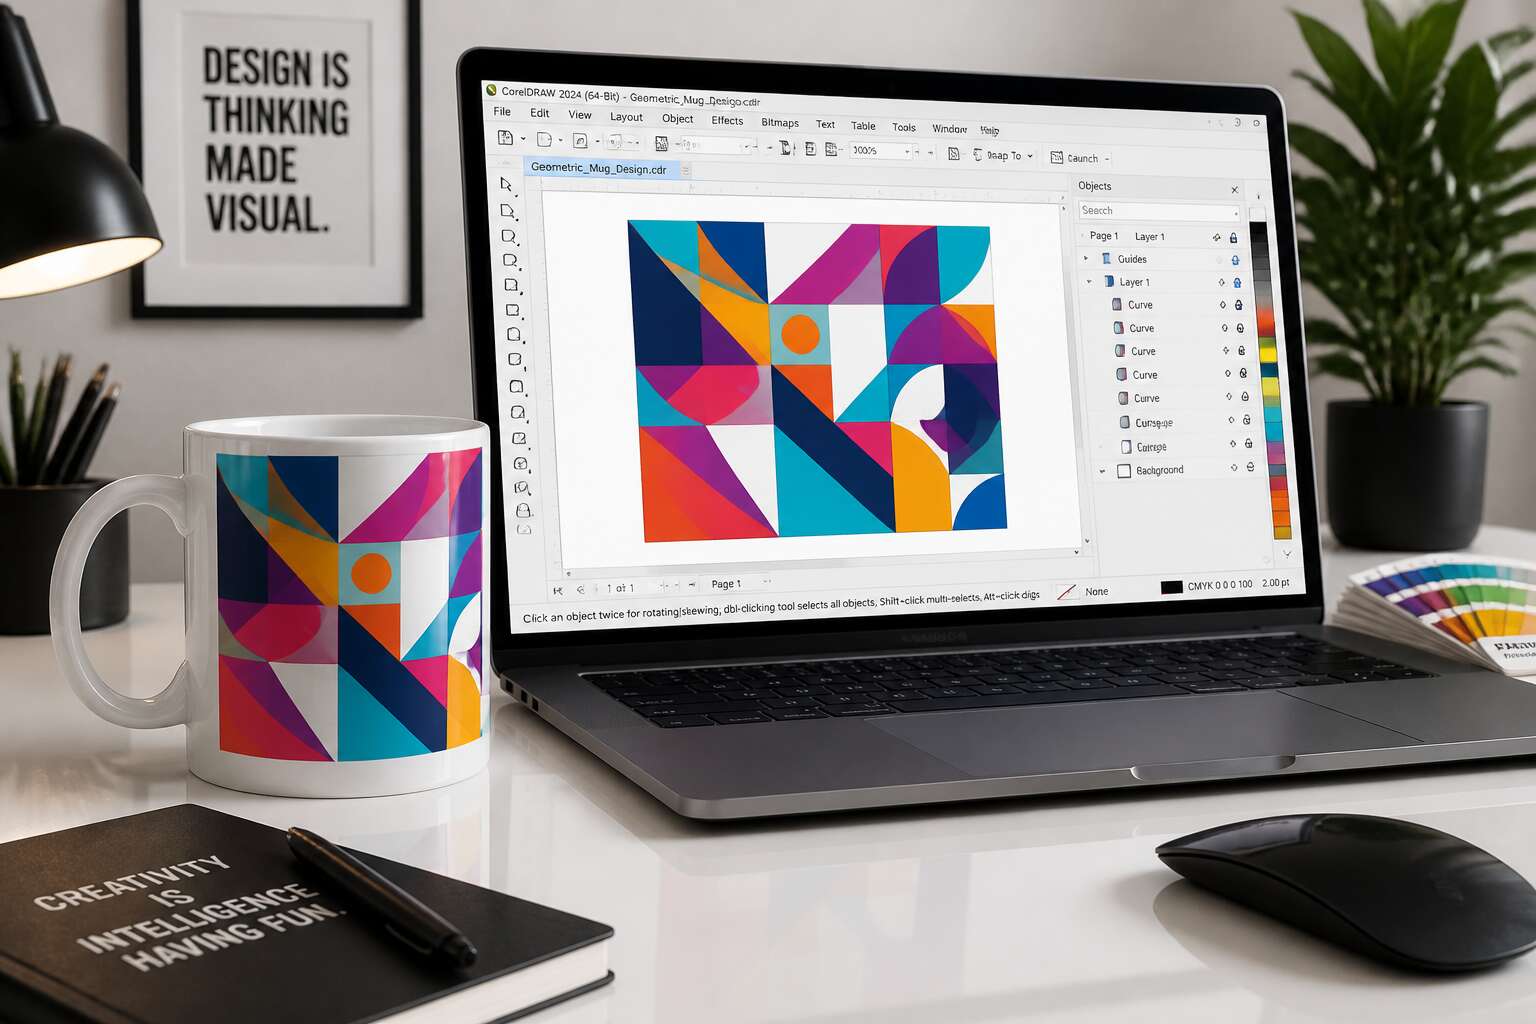
Understanding CDR Files and Their Role in Custom Mug Production
Designing mugs is more than picking a picture. The file format you choose decides whether your artwork survives the printing process. CorelDRAW’s CDR format remains the standard for custom mug production because it holds vector shapes flawlessly.
In South Africa, many print shops still request mug printing design cdr files over PNG or JPG. CDR files allow precise scaling without losing quality. When your design wraps around a curved ceramic surface, every line matters. A single raster spot can blur into an ugly smudge.
The typical workflow involves:
- Building vector artwork with clean paths
- Converting text to curves to protect your fonts
- Matching exact CMYK values for dye sublimation
Most importantly, a well-structured CDR lets the printer adjust your design to the mug’s circumference without redoing any work. That saves cash and cuts turnaround times. I’ve seen countless designs fail due to sloppy originals, but a proper file always wins.
Essential Design Specifications for Custom Mugs
Most people overlook the quiet alchemy of a well-prepared mug file. The difference between a crisp logo and a smudged memory lies in the millimeters that separate the design edge from the mug’s rim. For our workshop, the threshold is simple: 4 millimetres of safe margin, and a resolution of 300 DPI always.
When you send us a mug printing design cdr file, we check these essentials:
- A bleed of 10 millimetres around the artwork
- All text converted to curves, so no fonts go missing
- Colours in CMYK, never RGB
That cdr format keeps vector lines sharp. A raster image pasted over it will lose the magic. I have seen too many orders fail because the safe zone was treated as a suggestion. The safe zone is not a decoration; it is a structural necessity.
Step-by-Step Workflow in CorelDRAW
Every custom mug starts as a plain vector file. In CorelDRAW, the workflow for a mug printing design cdr requires precision and a calm mind. I set the canvas to 300 DPI, then import a template that matches the mug’s curvature. The steps are simple but unforgiving.
- Draw the printable area using the rectangle tool.
- Place your artwork inside that boundary.
- Convert all text to curves to avoid font errors.
- Export to a CMYK PDF for accurate color transfer.
I check each layer at 200% zoom before saving. The mug printing design cdr process rewards patience. A misaligned anchor point or a stray pixel becomes glaring after pressing the heat press. So I take my time. That is the heart of getting a mug printing design cdr right in CorelDRAW!
Common Pitfalls and How to Avoid Them
Many South African businesses leap into mug printing design cdr without checking their artwork resolution. That mistake costs time and money. A blurred logo on a ceramic surface looks unprofessional, and customers notice! I have seen files where images sit at 72 DPI, which is fine for screens but terrible for physical prints. The solution is simple, prepare your CorelDRAW file at 300 DPI from the start. Another pitfall involves color shifts. What you see on your monitor rarely matches the printed result, especially on dark mugs. Here is a quick list to keep you grounded:
- Always convert your design to CMYK before exporting.
- Remember that sublimation requires mirrored artwork for the correct orientation.
- Test a single mug before running a full batch.
Finally, ignore the need for proper margins and you will end up with ink bleeding over the edges. Respect the safe zone. Mug printing design cdr demands patience, but these common errors lose their sting once you spot them early.
Exporting and Working with Print Providers
Exporting your mug printing design cdr file will make or break your project. I have sent files to print providers with the confidence of a gambler, and the result was a mug that looked like a potato. Check their specs before you export. Some want a PDF, others want the raw CDR, and a few want a format that seems made up.
When you work with a print provider in Johannesburg or Cape Town, their workflow might differ from yours. A quick call saves you from a batch of unusable mugs. I once spent hours aligning a design, only to find the provider’s machine clipped the edges.
Always ask for a proof. It sounds obvious, but people skip it. The proof is your safety net. Export your mug printing design cdr file at around 300 DPI. That little effort saves you from awkward conversations.




0 Comments